
Yesterday we celebrated my son's 3rd birthday.
For this birthday my son requested an Angry Birds party, and it was so fun going through the details and hearing specifically what he wanted to have at the party.
My son told me his favorite bird is the yellow bird, and he wanted a yellow bird pinata.
I knew we could totally pull this off, and I'm pretty proud of the end product. It turned out just how I had pictured it in my head.
Always a plus :)

I have a lot of step-by-step pictures for you so you can see how it was all put together.
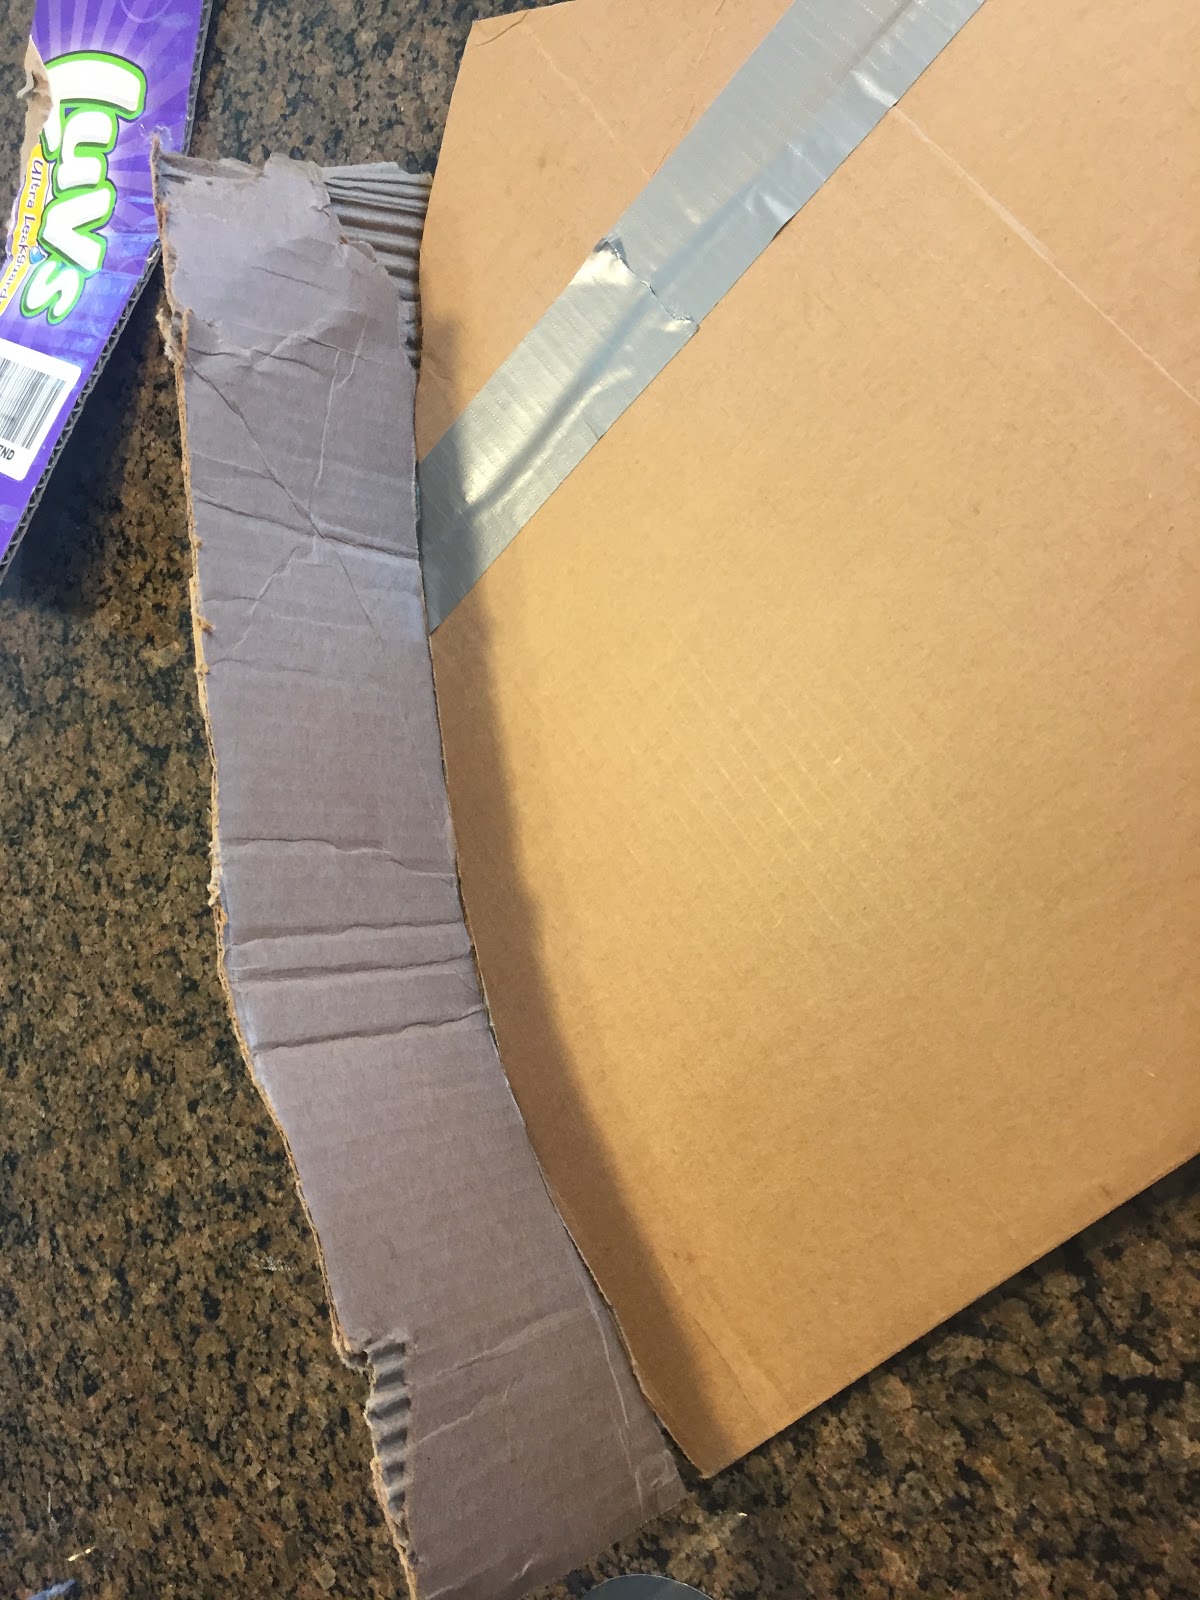
I started out by cutting 2 triangle shapes out of cardboard.
We didn't have anything that was as big as I wanted the bird to be, so as you can see in the picture below, I taped together the top and bottom part of the triangle.

I then cut out 'strips' of cardboard to go around the pinata.
These were probably 4" across.

I then attached the side piece to the one of the triangle pieces with tape on the outside.
When I've made pinatas in the past they have been pretty hard for the kids to break open because I usually tape all the way around the edges.
This time I left gaps in the tape so it would break open a little faster.

I grabbed my yellow tissue paper and folded it over 4 times and cut about 2" strips.

Snip little 'fringes' across the bottom of each strip and then glue it onto the pinata.
I just used a glue stick.

I recommend starting on the bottom (or underside) of the pinata.

Then work your way up from there.

Same with the sides of it as well.

To hang the pinata, I poked 2 holes in each side and ran some yarn through.

My son then helped me fill the pinata with all of the goodies for his little friends.

To close the pinata I cut one more strip of cardboard and folded it over to cover the top point and taped it in place.
If you look closely at the picture you can see where the yarn is attached. I didn't tape across there.
I wanted to leave that so it had a little bit of movement .

I then finished the tissue paper up to the top.

I didn't have any black paper on hand for the hair part, so I just took some white paper and painted it black, cut out a hair-type shape and called it good :)

Using a glue stick I glued the hair piece right in front of the top triangle point.

I then cut out two eye shapes and traced around them with black marker.

I cut out eyebrow shapes,

and a beak shape,

and traced and drew a design with the black marker.

I put all of the features on with the glue stick.

Don't forget the eyebrows ;)

All ready to go!
Hope this tutorial was helpful, let me know if you have any questions!
What a great DIY! You did a great job :]
ReplyDeleteBlessings,
Edye | Http://gracefulcoffee.wordpress.com
Well thank you so much!
Deleteit's just wonderful article about kids story,
ReplyDeleteSurprise EggsTow Truck
I thank for your time of this wonderful blog read about cleaning!!! I definitely enjoy every little bit of it and subscribed to check out new stuff of your blog a must read blog!
ReplyDeleteSpring cleaning Sydney
End of lease cleaning Paddington