
First of all, I am well aware that this post is long overdue.
At least I'm getting it done people!
For those of you who aren't familiar with what I'm even talking about here, I'll quickly explain.
Once a year the women's group in our church gets together for a 'Super Saturday' where we basically eat some good food and make some crafts.
Once a year the women's group in our church gets together for a 'Super Saturday' where we basically eat some good food and make some crafts.
Who wouldn't want some of that?!
I am the one in charge of planning this, and I was really excited with what I had come up with.
I had two crafts available for the women to make, and I brought them to church a couple of weeks before our big day so the women could see what we were offering and decide if they wanted to come.
 The two crafts I had available for the women was the DIY Temple String Art and the DIY Reversible 2x4 Craft. These linked posts are tutorials to show you how to make each craft.
I had two crafts available for the women to make, and I brought them to church a couple of weeks before our big day so the women could see what we were offering and decide if they wanted to come.

This post is to show you how we set up everything for our Super Saturday.
The plan for our Super Saturday was to have the two crafts and then some food to eat while we crafted.
We needed our energy!
We had sign ups go around for pastry items, cut fruit, juice, and chocolate milk in the weeks leading up to the activity.
Before the women got to the church, myself and another girl set everything up.
There were round tables and chairs already set out for us, so we just got everything ready.
When everyone arrived we said an opening prayer and then I quickly explained how to do the crafts.
I had also taped instructions to the tables so the could follow along there if needed.
On the first table for the temple string art craft we put down newspapers, to help keep paint off of the tables...we had some acrylic craft paints, paint brushes, a water cup, and paper plates.
We also had some sandpaper available if anyone wanted to smooth down the edges on the wood.
The women painted the wood first and let it dry.


 This was one of the tables for the 2x4 craft.
Again, we had newspaper, paper plates, paint brushes, chalk markers, and stencils.
(No one ended up even using the stencils, we apparently have some talented people in our ward when it comes to handwriting!)
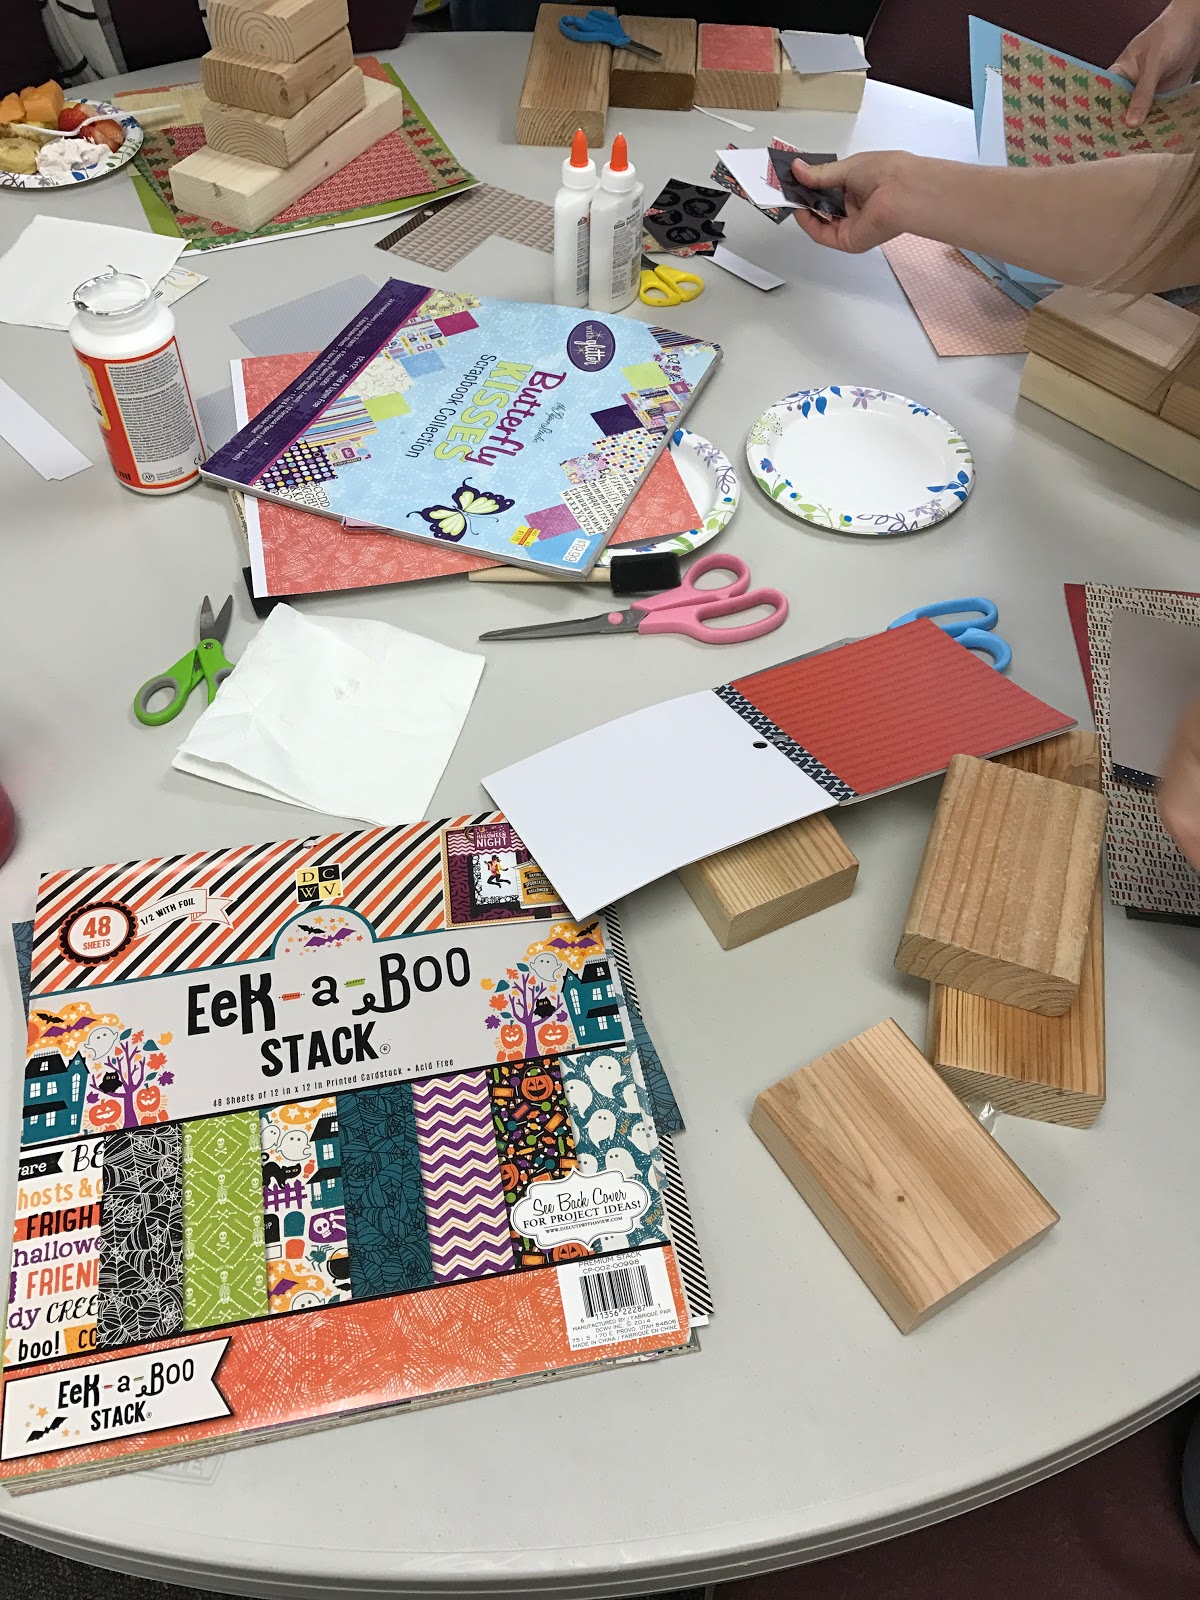
 The other table for the 2x4 craft had Mod Podge, scrapbook paper, scissors, and glue.
Each sister got 4 blocks. One that measured about 11", one that measured about 6", one that was about 4", and one that was about 3 1/2".
 Here's a sister working on the Salt Lake Temple (we'll call this template Salt Lake #2).


 My other version of the Salt Lake temple (we'll call this Salt Lake #1)


 I've included the temple templates to download and print off as well as the instruction sheets to have at the tables.
For the templates of the temples you can click here.
Let me know if you have any questions!
The plan for our Super Saturday was to have the two crafts and then some food to eat while we crafted.
We needed our energy!
We had sign ups go around for pastry items, cut fruit, juice, and chocolate milk in the weeks leading up to the activity.
Before the women got to the church, myself and another girl set everything up.
There were round tables and chairs already set out for us, so we just got everything ready.
When everyone arrived we said an opening prayer and then I quickly explained how to do the crafts.
I had also taped instructions to the tables so the could follow along there if needed.
On the first table for the temple string art craft we put down newspapers, to help keep paint off of the tables...we had some acrylic craft paints, paint brushes, a water cup, and paper plates.
We also had some sandpaper available if anyone wanted to smooth down the edges on the wood.
The women painted the wood first and let it dry.

This was the next table for the temple string art.
We had hammers, nails, string, wire hangers for the back of the wood, the templates of the different temples, and a paper with the instructions.

Here's a better picture of all of the templates.

Again, we had newspaper, paper plates, paint brushes, chalk markers, and stencils.
(No one ended up even using the stencils, we apparently have some talented people in our ward when it comes to handwriting!)

Each sister got 4 blocks. One that measured about 11", one that measured about 6", one that was about 4", and one that was about 3 1/2".

The Provo City Center temple

I love the look of the grey string and the color of wood she painted.


Mount Timpanogos temple

It was really neat to see everyone's different designs and style for the 2x4 craft.
We mostly had Christmas themed, but we also had some people do Valentines Day, a friendship one, and a St. Patrick's Day.


For the templates of the temples you can click here.
Let me know if you have any questions!
These are great projects, I bet everyone enjoyed making them. Thanks for linking up to #HomeMattersParty
ReplyDeletewww.domesticdeadline.com
Hi! Any idea how I can make one for the LA Temple?
ReplyDeleteWhat size board did you use for the temples?
ReplyDeleteHi Alicia,
DeleteThe wood I had was 1" x 8" and was 4 ft long so I cut it every 12", so the actual 'plaque' they got was 8" x 12".
Hope that makes sense! There's a direct link here (and also linked in this post) http://sunshineandasummerbreeze.blogspot.com/2016/12/diy-temple-string-art.html that has the step by step tutorial on how to make the string art.
If you have any more questions let me know!
Awesome! Thanks! I am helping out with our Super Saturday activity in my ward and I really love these!
DeleteHi. Thanks for sharing this craft. I love it. Approximately how long does it take to complete from start to finish (after wood has been cut and sanded down)??
ReplyDeleteHi Lindsay,
DeleteIf the wood was cut and sanded the rest takes from 1-2 hrs just depending on how fast the paint or stain you’re using dries. (For the paint we used acrylic craft paint and if it’s a thinner layer it dries pretty quickly. Same with the stain, you usually paint it on and then wipe it up and it’s dry to the touch soon after). The nails and string take about 45 minutes or so.
Hope that helps!!
Love this idea. Can you direct me to where and how you made the temple templates...i would love to do ones in our area..arizona ( MESA, gilbert, tucson)
ReplyDeleteI’m sorry I never saw your question before now.
DeleteI hope I’m not too late to help, but to answer you. I actually just sketched them myself with a pencil and then went over the sketch with marker once I liked the way it looked.
Again, so sorry for not seeing your question sooner.
Could you tell me where you got the string or what type you used? I am overseas and can't look in stores myself to see if it's the right thickness and type of string. I'll have to order online unfortunately so any help you have would be great! Also, if you have a pic of the box of nails you used that would be helpful too. Nails over here are totally different sizing haha! Thanks!
ReplyDeleteHow can one find all the temple templates?
ReplyDeleteSorry for the late response, the templates are all linked in this blog post.
DeleteLet me know if you have any other questions!
This comment has been removed by the author.
DeleteLinks are not working for the temple templates. Would love to get them for an activity plz.
DeleteHi! I was so excited to use these templates for an activity with the activity day girls but when I click on the links it says they are in the owners trash. Is it possible to still get a copy? I was going to put the nails in today! I just needed the mt. timp temple. Thanks!
ReplyDeleteI can’t get the links to work for the templates if there is any you can fix that it would be greatly appreciated. It got a YW activity coming up.
ReplyDeleteHi Michelle! I'm also having issues opening up the templates. Would you maybe be able to email them to me? deskastendieck{at}gmail{dot}com
ReplyDeleteHi Michelle, like the other sisters who mentioned this problem, I, too, can’t open the templates. My RS sisters would love to do this activity for our May/June temple activity. Are you able to email the templates since your links are not working?
ReplyDeleteArlamarie53@yahoo.com, or mariesimms62@gmail.com
Can I get the Mount Timpanogos temple templates sent to: rockwoodrealtor@gmail.com
ReplyDeleteThe link doesn't work
I also would like the templates sent to c.telford871@gmail.com if you still have them. Thanks!
ReplyDeleteThis is beautiful! What fun projects to do while visiting with friends and getting to know others better - LOVE it! Can you please email the Mt Timp temple, instructions, and supply list? cgmerrill08@gmail.com Thank you so much!!
ReplyDeleteThese are so great! My YW would love to do this temple art project. Would you mind emailing me all the files for that? sgrowley@gmail.com
ReplyDeleteWhen I click the link it says the files aren't found. Thanks so much for sharing!