
I am so so so excited about the next couple of posts coming up! Follow my blog so you can see what's coming! (Just a little teaser, they are related to Avengers birthday party ideas!)
First of all, I am very happy to have my camera back :). Note to self: do not leave an expensive camera on top of papers on the edge of the table, because when a toddler wants to grab those papers, everything comes crashing down. Totally my fault. I am guilty.
Anyways, my son's birthday isn't until November, but since we are moving in two weeks (AHHHH!!!), we decided to do an early birthday party for him so he could celebrate with friends and family one last time, and the party was yesterday! I have been SO excited about this party. I love planning things like this, and I love to be able to use my crafty skills :) If you've been following my blog, you may remember I did a post about letting your little ones make their own Captain America Shield, well, after making that shield, and playing super heroes, I think it might have just kept the super hero obsession burning bright :), because my son requested an Avengers party!
Warning: There are lots of pictures ahead! I really did miss my camera...Also, guess how much it cost me to make this pinata...anyone? Nothing! 0! Zilch! What made me really happy was I had all these supplies at my house already, (except the cardboard box, I had to find that, but it was free!)
Supplies you'll need:
- cardboard box
- a thinner box, ex: cereal, pop can, etc.
- duct tape
- scissors
- glue
- tissue paper
I thought this was going to take forever, so I started it a few days in advance. It only took like an hour and a half TOTAL, and that was with 'my little helper' helping me.
Ok, here we go:
First cut out 2 identical shapes of what you want your pinata to be. (As you can see my box has black paint all over it, that's because I've been redoing furniture, I will post that later!)


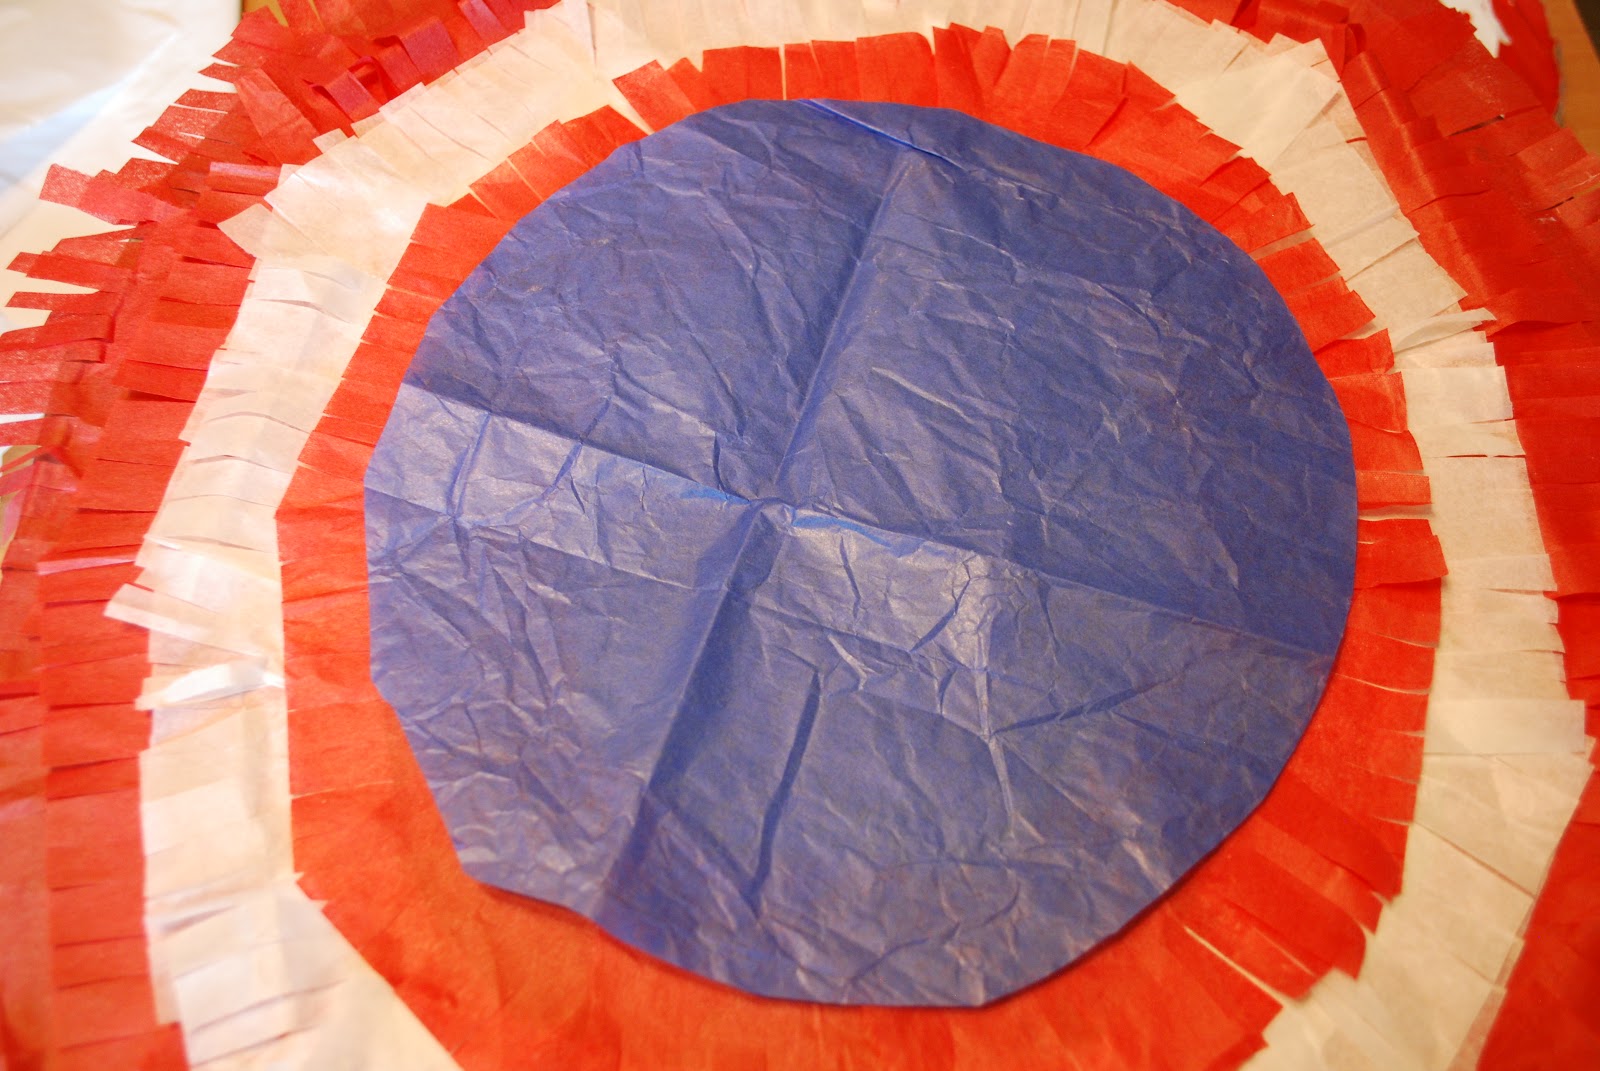


Glue the stars on top of each other, and the front is done!


To close the top, we kind of waited until the last minute, my husband stapled the flaps together so the rope could just go through the hole.
Ok, tip here...there was so much candy in the pinata that the rope did rip up through the box, not through the staples, but right beside it. I figured out two ways to prevent that from happening:
1. Put duct tape around the edge of the thinner box, then the rope can't rip through, or
2. cut a small hole through the front and back of the thicker cardboard box, and run the rope through there.

Then let the little ones have at it :)
Update:
Since the pinata only ripped a little through the top, we used the pinata again a few days after my son's party for another party for one of his little friends.
So I just recovered the top with leftover cardboard, but this time I put the rope through one side, laced it twice through two holes I cut in the top, and then through the other side. I then put on the blue tissue paper to cover up the new part.
 This time it held up :)

This post was featured at:
Update:
Since the pinata only ripped a little through the top, we used the pinata again a few days after my son's party for another party for one of his little friends.
So I just recovered the top with leftover cardboard, but this time I put the rope through one side, laced it twice through two holes I cut in the top, and then through the other side. I then put on the blue tissue paper to cover up the new part.


This post was featured at:

It turned out sooooo great!!!! Amazing job! You are so resourceful and creative!!
ReplyDeleteThank you! It was a lot of fun to try something new!
DeleteI love this. I saw this picture on Sun Scholars and I new I had to pin it for my husband's birthday. He may be a little old for a pinata, but he loves all things Avengers. I'm excited to read your other party posts.
ReplyDeleteHa ha no one is too old for a pinata!!
DeleteThis pinata turned out amazing! The whole party was incredible. The girls loved it!
DeleteWow well done! Your pinata looks fantastic! What an amazing idea. Thanks for linking up to The Sunday Showcase.
ReplyDeleteThank you! I cheated and bought a cheap plain blue Happy Birthday and intended to mock up a shield on the front and cover the back, but I wasn't sure what I was going to do. I feel so much better about this now. Thanks for some direction!
ReplyDeleteThis comment has been removed by the author.
ReplyDeleteThank you for the inspiration! My 5-year-old's big "birthday request" was "Can I please have an Avengers pinata?!" But with a family of six and one income, I don't have 15 bucks to spend on a pinata. But we DID have an old Pampers box and a soda box and some red, white & blue tissue paper on hand! Voila! ;-) A fun (free) project and my son's birthday wish come true! Thank you so much for posting!
ReplyDeleteYay, I'm glad it worked out for him!
DeleteDid the piñata hold up pretty well? I am about to make one for my sons 7th birthday. Just afraid it will get busted too easily or be too tough...
ReplyDeleteThank you for this wonderful tutorial! Saved me a lot of money and turned out great!
ReplyDelete