
Last week, before the Thanksgiving break, I was feeling the need to be crafty.
I have had a few things in mind that I have wanted to tackle for a while, but didn't know what I really felt like doing.
Then it hit me.
In a few weeks I will be attending a work Christmas party with my husband, and I get to dress up.
Like dress, heels, hair, make-up.
This happens like once a year folks.
I was getting excited thinking about it, and then I realized that I didn't really want to take my big mom purse that doubles as a 'diaper bag' with me, but I wanted something small and chic to carry my phone, lip gloss, gum, etc.
I realized that I don't have anything that fits that category, at all.
I had thought about making something like this a while ago, and I already had all of the supplies on hand, so I figured if it didn't work out I had at least tried.
Well, I am happy to report that I LOVE the way this turned out, and I will definitely be using this clutch on our night out :)

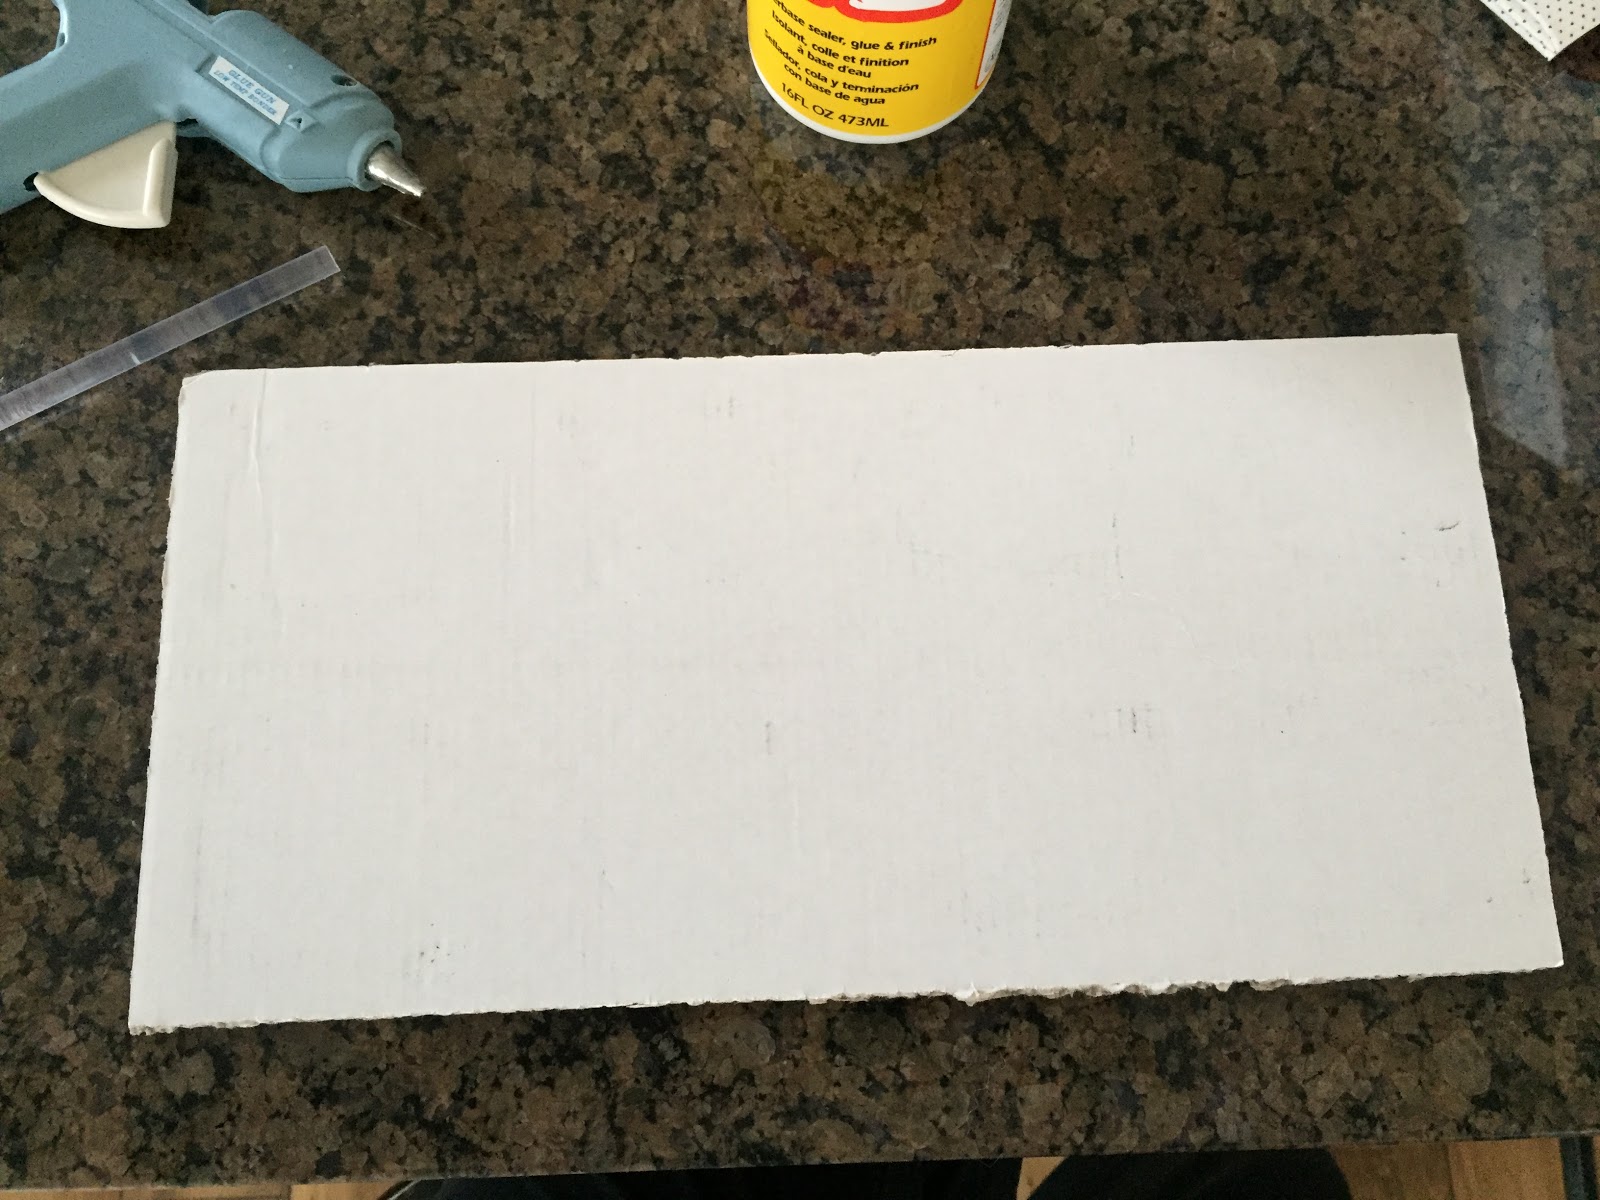
So here is what we started out with.
Glue gun, Mod Podge, fabric, and cardboard.

I had found a piece of cardboard that was the perfect size for what I wanted, 6 1/2" x 13" and it was also white on one side, win win!
To make the front of the clutch I folded up 4" and made a nice crease.

To make a base for the clutch to stand up I then folded up 1 1/2"

For the fold over part of the clutch I just bent the top over.

I then unfolded the cardboard and placed it on the fabric, make sure the right side of the fabric is down.

I then spread Mod Podge along the edge of the cardboard,

and folded the fabric up and over.

Continue spreading the Mod Podge and stretching the fabric over the cardboard.

Make sure you press down and flatten out the fabric so you don't have any lumps.
Also, if you have a pattern on the fabric, make sure it's even and going the direction you want.

You're basically wrapping the fabric around the cardboard like you are wrapping a present.

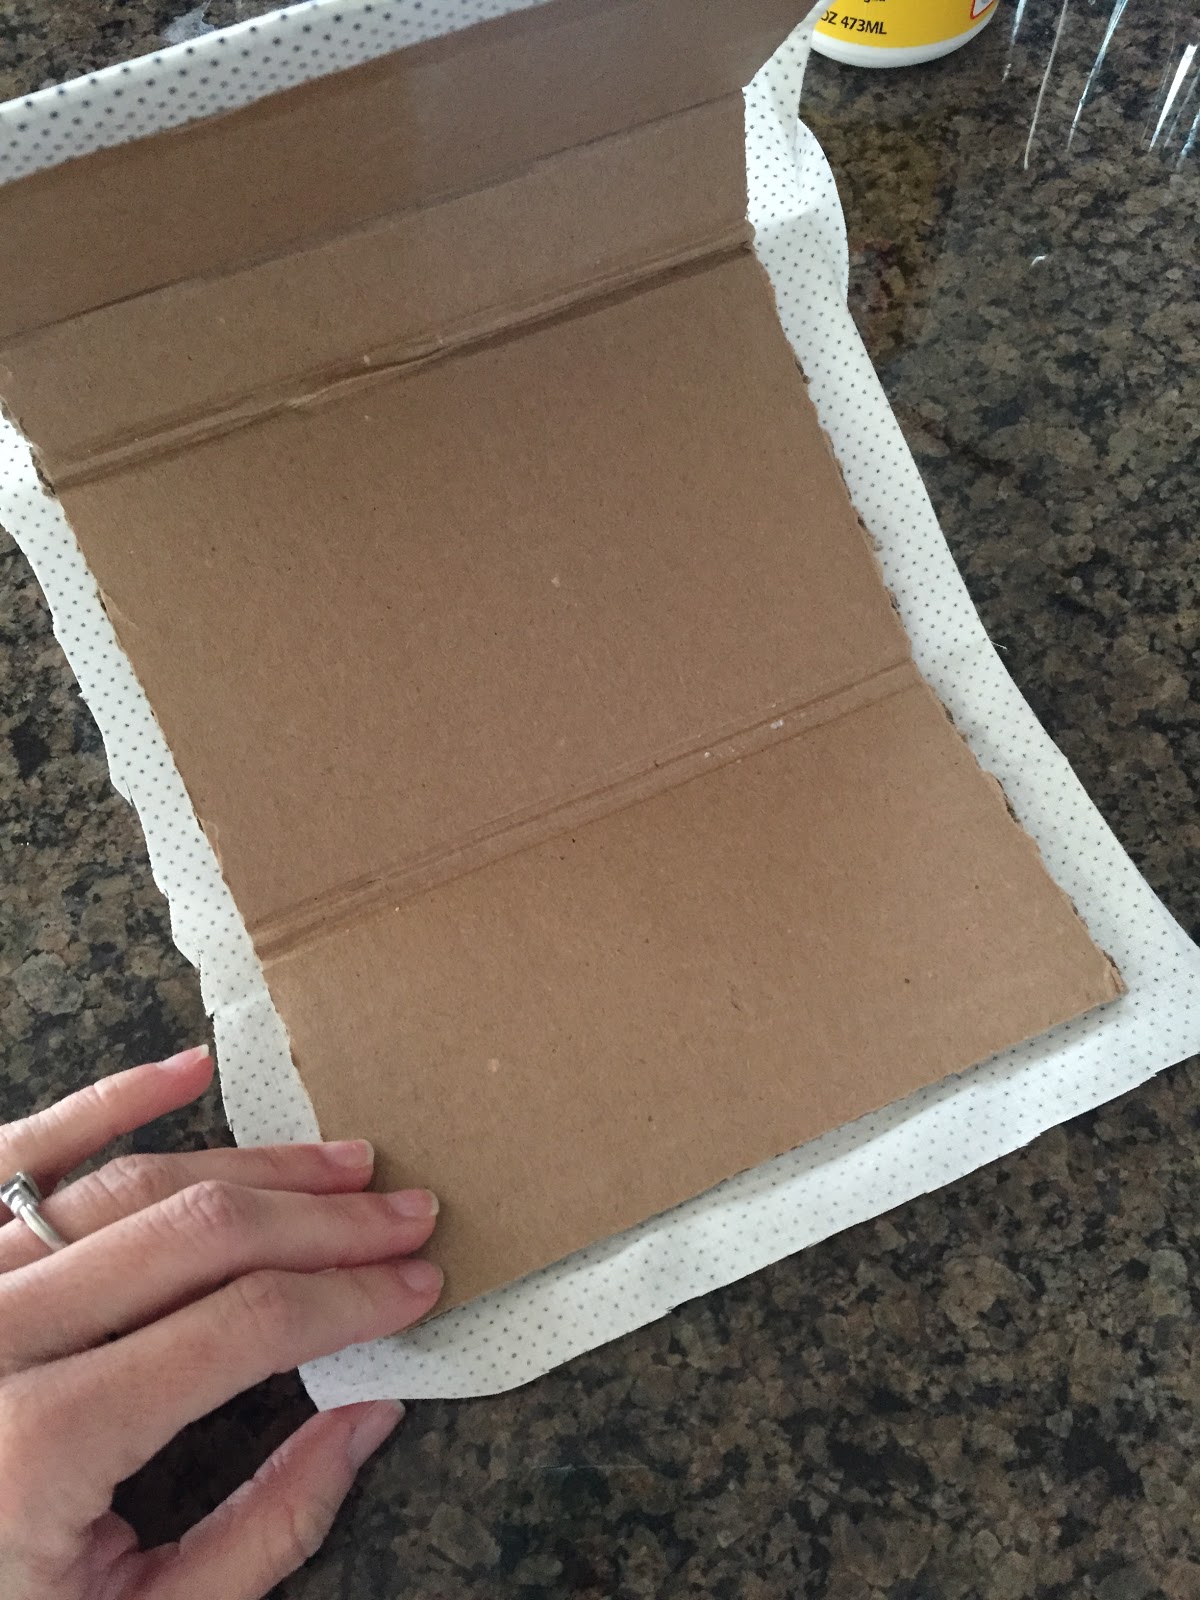

Go around the edges applying Mod Podge and fold the fabric over to give the edges a clean look.


For the side panels of the clutch (to make sure stuff doesn't slide out!) I cut out an almost diamond shape out of the same fabric, then spread Mod Podge on one half of the wrong side of the fabric and then folded the fabric over.
This will give the fabric some stiffness.

I then folded the fabric in half and used my iron to press it and make a crease down the middle.

Fold one edge in towards the crease and use an iron to press it and give it another crease.
Flip it over and do the same to the other side.

When you open it up it will kind of look like a 'V'

Fold up a small piece of the bottom in towards the crease.

Press it to give it another crease.

This is what the side panel should look like...this side will be on the inside of the clutch,

and this is what the panel will look like from the outside.

Using a hot glue gun, glue along the small bottom piece of the panel,

and place it on the 'base' of the clutch.

Do this on both sides of the clutch.

For the inside lining of the clutch I had a satin hankerchief that I thought would be perfect.
I folded the raw edges under and glued them down to give it a finished look.

I used a hot glue gun and glued the satin fabric around the edges, covering up my polka dot fabric just a little bit.

I did use Mod Podge under the satin fabric on one side, but I would just do the glue gun around the edges only. The Mod Podge kind of showed through the satin, making it not look as neat and clean and darker in some spots.
Good thing it's the inside though!

This is where it got a little tricky; you want to 'close' the clutch up and also make sure the fabric gets glued down all the way inside.
I started on the front part of the inside of the clutch by gluing just along the side of the polka dot 'panel', making sure the raw edge would go underneath my satin fabric.

Here's another angle for you...do you see what I mean there?

Do this on both sides and all the way down to the bottom where the base is.
My fabric wasn't a rectangle like the clutch, so I had to do the front section of the satin first, and then the rest.
Do you see a little bit of the discoloration on the satin fabric from the Mod Podge?
Oh well.

I then flipped the clutch over and started working on the fold-over side.

Again, my fabric wasn't really the right shape, so I had to do a little piecing in there...

All lined and ready to dry!

Here's a little side view for you.

I had some velcro on hand from some other crafts, so I cut a pretty good sized piece and glued it to the inside of the fold-over part.

Now it's kind of up to you to embellish or decorate the front however you want!
It actually took me a while to decide what I wanted here. I was going to make a fabric flower and put some pearls in the middle, but then I saw this black ribbon in our wrapping paper box, and I went that route instead.
Using my hot glue gun I just glued the ribbon all the way around the clutch and cut off the excess.
 I then used the last piece of ribbon to make a bow and glued it on with the hot glue gun.


 I hope this tutorial is able to give someone else a little inspiration!
Thanks for sticking through the whole post with me ;)
Using my hot glue gun I just glued the ribbon all the way around the clutch and cut off the excess.


The finished product, ta-da!


Thanks for sticking through the whole post with me ;)
This is adorable and so ingenious! Thanks for sharing :)
ReplyDeleteThanks for your kind words, and thanks for stopping by!!
DeletePerfect for people who can't sew like me. :)
ReplyDeleteHa ha good!
DeleteOh that is SO COOL and pretty! I never would have thought of doing this. Can't wait to try it!
ReplyDeleteThank you! Let me know if you have any questions!
DeleteHow great is this? Love this! Thanks for sharing this great project with us.
ReplyDeleteThank you, and thanks for visiting!
Deletesuch a cool idea! I didn't realize you really meant you used a box but totally makes sense. love the tute!
ReplyDeleteHa ha yep! A scrap piece of cardboard! :)
DeleteThere is no way this looks like it was made out of a box! This looks fantastic! What a great idea!
ReplyDeleteHa ha thank you!
DeleteSo, so creative!!! I love it!!
ReplyDeleteThis is a cute idea and might be nice to make something unique to go with a particular outfit for a special event. Thanks for sharing! Pinned.
ReplyDeletewow, that's pretty nice!
ReplyDeleteyeah, I think you can pair that with a nice dress.. who would think that's a diy bag. :)
Your tutorial is so easy to follow. And the purse is adorable!
ReplyDeleteWow...you did a fabulous job! This clutch is adorable! Thanks so much for sharing with us at Share The Wealth Sunday and I hope you'll join us again tonight!
ReplyDeletexoxo
Lisa
Thank you for sharing at the Thursday Favorite Things blog hop
ReplyDelete