
I have kind of been on a sewing kick for the last little bit, and I have been loving it!
Since the Spring months have started the sun is naturally rising a little earlier each day.
Both of my boys are early risers anyways, but I wanted to make curtains for my toddlers' room so I could get him to sleep as long as possible...so until around 6:30-7...
This project was a lot of trial and error, I was kind of making it up as I go.
 If you follow me through any of my social media outlets, you will recognize this picture :)
These are the two original fabrics I was planning on using, but as I got into making the curtains things kind of changed a little...you'll see.
This project was a lot of trial and error, I was kind of making it up as I go.

These are the two original fabrics I was planning on using, but as I got into making the curtains things kind of changed a little...you'll see.
Here are all of my measurements:
The window is 57" tall and 47" across.
I made two curtain panels that are 60" tall and 26 1/2" across (or 53" together) this way I had a couple of inches on each side and above and below.
So the pieces of fabric I started out with were:
Dark blue 44" x 54"
Royal blue 7" x 27"
Orange 15" x 44"
Dark Blue 17" x 27"
Muslin (for the back of the curtains) 54" x 60"
I will show you how I cut everything and how the measurements worked.
To start, I had purchased the dark blue (44" x 54") and orange chevron (15" x 44") from JoAnn's. I laid the fabric out on my son's floor and realized I wanted a little something more to it, but I didn't want to make another trip to the store, so I started pulling out scraps of other fabrics to see if I had anything else that would work.
I had some royal blue fabric (7" x 27") left over from some Avengers capes, so I started playing around with that.

I folded the dark blue fabric in half, lengthwise, and pressed it so I had a nice crisp line down the middle.

I then cut down the line with my scissors.
(I have no idea why the fabric looks like such a different blue in this picture, I tried using my other camera, but it didn't turn out right...but it's the same fabric I promise!)
Anyways, after cutting it I had two panels of dark blue that were 27" across and 44" long.

I folded the royal blue in half lengthwise and cut out 2 strips measuring 3 1/2 " x 27"

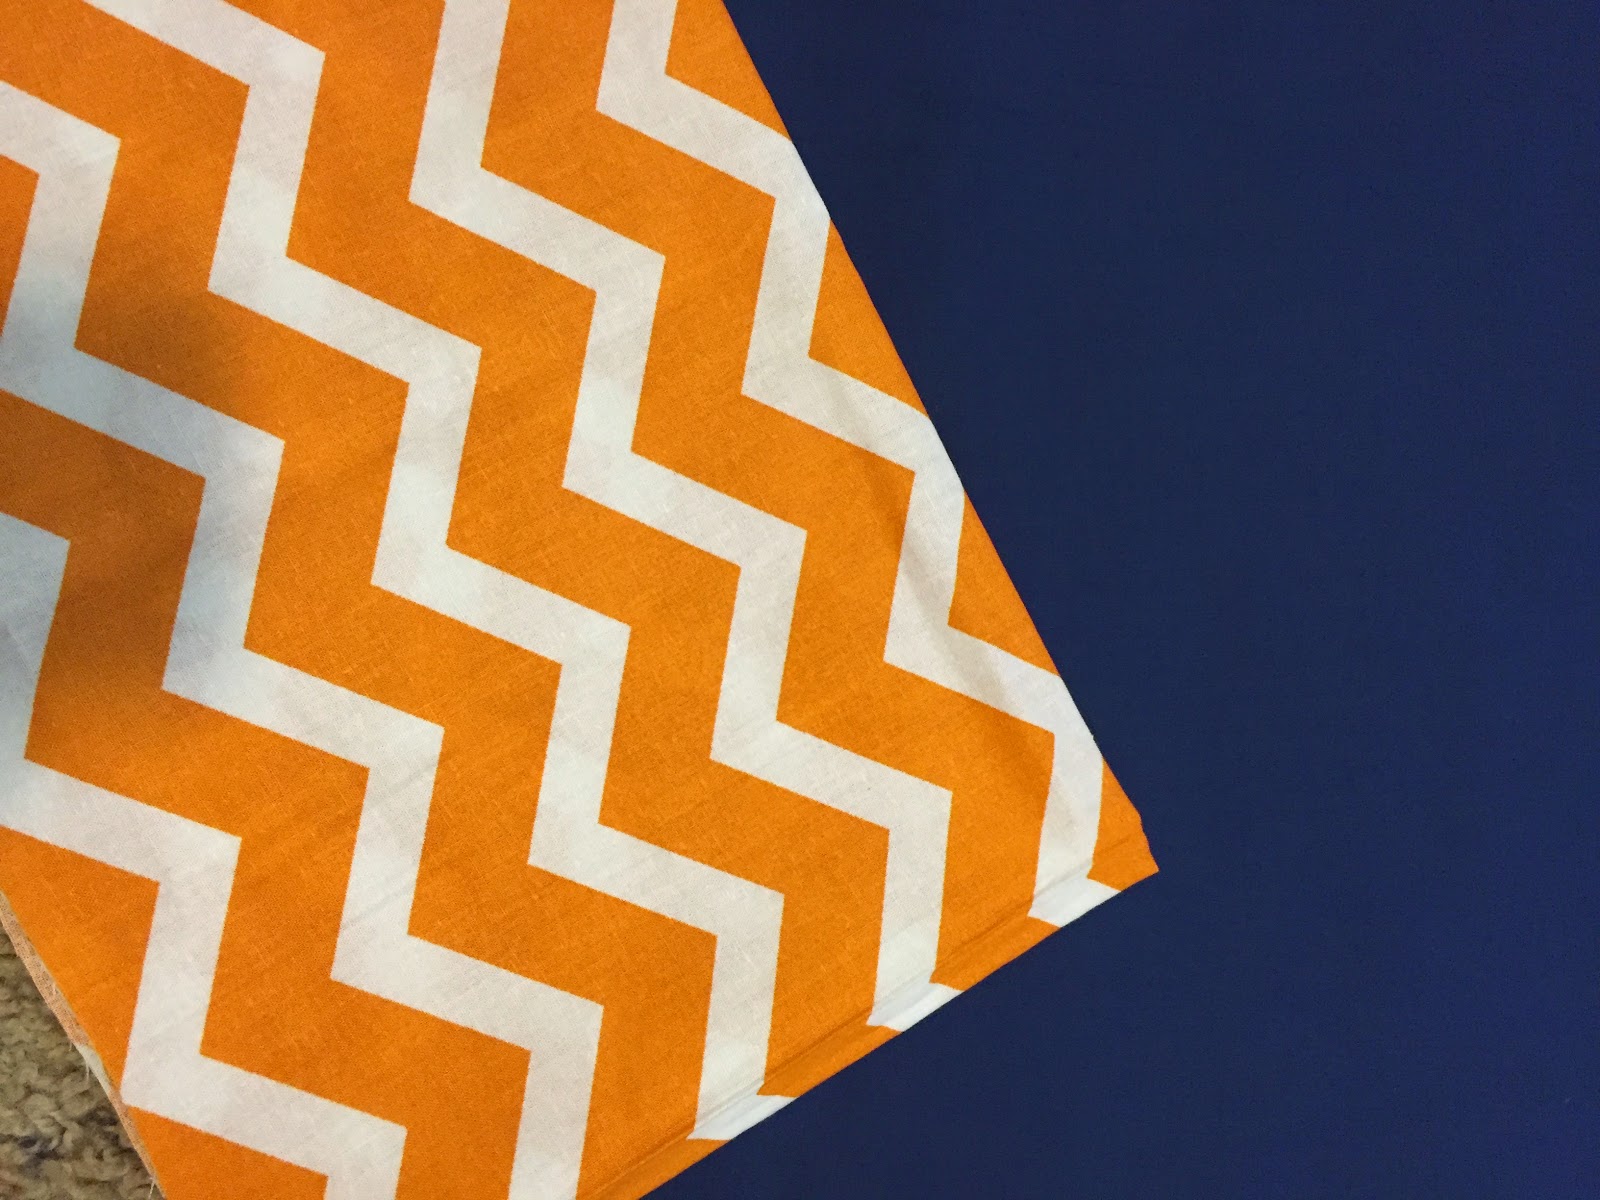
The orange chevron fabric took a little extra time to make sure the pattern was even all the way across. I didn't notice it at first, but it had been cut unevenly at the store, so I had to cut a straight line myself.
I then pinned it to the royal blue and sewed across using a straight stitch giving myself a 1/4" seam allowance.

Each time I sewed a seam I would quickly press it to give the fabric nice clean lines.

I then pinned the royal blue to the dark blue and sewed across using a straight stitch.

This is what the first panel looked like once I had finished.
I then realized I didn't have enough of the orange chevron fabric for the other side, so I needed to head back to the store. Unfortunately, the orange fabric was nowhere to be found! It had vanished. And I had only been there two days earlier!
I then realized I didn't have enough of the orange chevron fabric for the other side, so I needed to head back to the store. Unfortunately, the orange fabric was nowhere to be found! It had vanished. And I had only been there two days earlier!
I knew I had some extra dark blue fabric at home, so I decided to just cut the orange fabric in half (making the orange strip 7 1/2" x 27"), and I would add more of the dark blue to the bottom.
 I cut two dark blue strips 8 1/2" x 27" each and sewed it to the orange chevron fabric giving myself a 1/4" seam allowance.
I then sewed the other curtain panel.
(Again with the weird coloring in the picture...)


I then sewed the other curtain panel.
(Again with the weird coloring in the picture...)

Flip the panels over and place your back fabric down. This is where I used the muslin.
Fold the edges over, about 1/4", and pin.

Sew around the whole curtain panel.

I then turned the panels over and placed the rod across the top.
Yes, the rod is a PVC pipe. (I will post that tutorial later!)

I already had this brown ribbon on hand which made my life easier!

I cut strips of the ribbon and glued them to the back of the curtain panels with a hot glue gun.
I used the 'rod' as a guide.


I placed the ribbon strips every few inches, I didn't really measure I just guessed.

And there we have it, finished curtains!

Stay tuned because I will post about how the curtain rod and hardware to hang it cost less than $3.00! Yep!
Thank you for sharing your creative project on the Bowdabra Saturday Crafty Showcase. We look forward to you sharing a new projects next week.
ReplyDeleteThese curtains are sooo cute! I would love for you to link up to the Stitch It, Blog It, Share It Link Party going on now at BehindtheSeamsSewing.com.
ReplyDelete~Bonnie
Thank you! I will head over!
DeleteThanks for sharing these adorable curtains at the #HomeMattersParty. Hope to see you again soon!
ReplyDeleteCongratulations! This is featured over at Diana Rambles today and has been pinned in the Featured at Diana Rambles board at Pinterest, Tweeted, and Shared on G+. Please grab a featured button off my button page or via the post guidelines graphic. Thanks for sharing this awesome idea!
ReplyDeleteThank you, that is so sweet!
Delete