
I've mentioned here in the blog a few times that I am the one in charge of planning the Relief Society activities for my ward (church).
Last week was our annual Christmas party and the Relief Society President (lady in charge of the group) wanted a small gift to hand out to each of the ladies at the end of the evening.
After like a week of tossing ideas around in mind head I remembered that I had been hoarding these baby food jars from like 2 years ago, and I decided that I was going to turn them into candles.
I wanted a special Christmas type message to go along with the candles, and at first I was going to go with something along the lines of when Jesus says 'I am the light of the world', or 'let your light so shine' but I couldn't decided yet for sure and I knew I wanted the candles, so I just started there.
 I actually really enjoyed making these, I've always wanted to make my own candles, and I love how these turned out.
About a 2 weeks before our Christmas party the church we belong to came out with their #LightTheWorld campaign (It's 25 ways in 25 days to serve others and bring Christ to our minds this Christmas season. To learn more about the full campaign click here).
The Christmas party was a success and at the end of the night I took a few minutes to talk about the candles.
I told the quote from Harry Potter where Dumbledore says "Happiness can be found even in the darkest of times, if one only remembers to turn on the light."
The candle is all ready to go, but it can't light itself.
We need to take action, we need to actually light it for it to bring us light.
The same goes for the Christmas season.
We need to include Christ in our celebration and bring the light into our lives.
I hope it made sense when I was talking, ha ha sometimes my words come to me better AFTER I'm done talking.
Anyways, I've included a full tutorial for you so you can see how these candles came together.
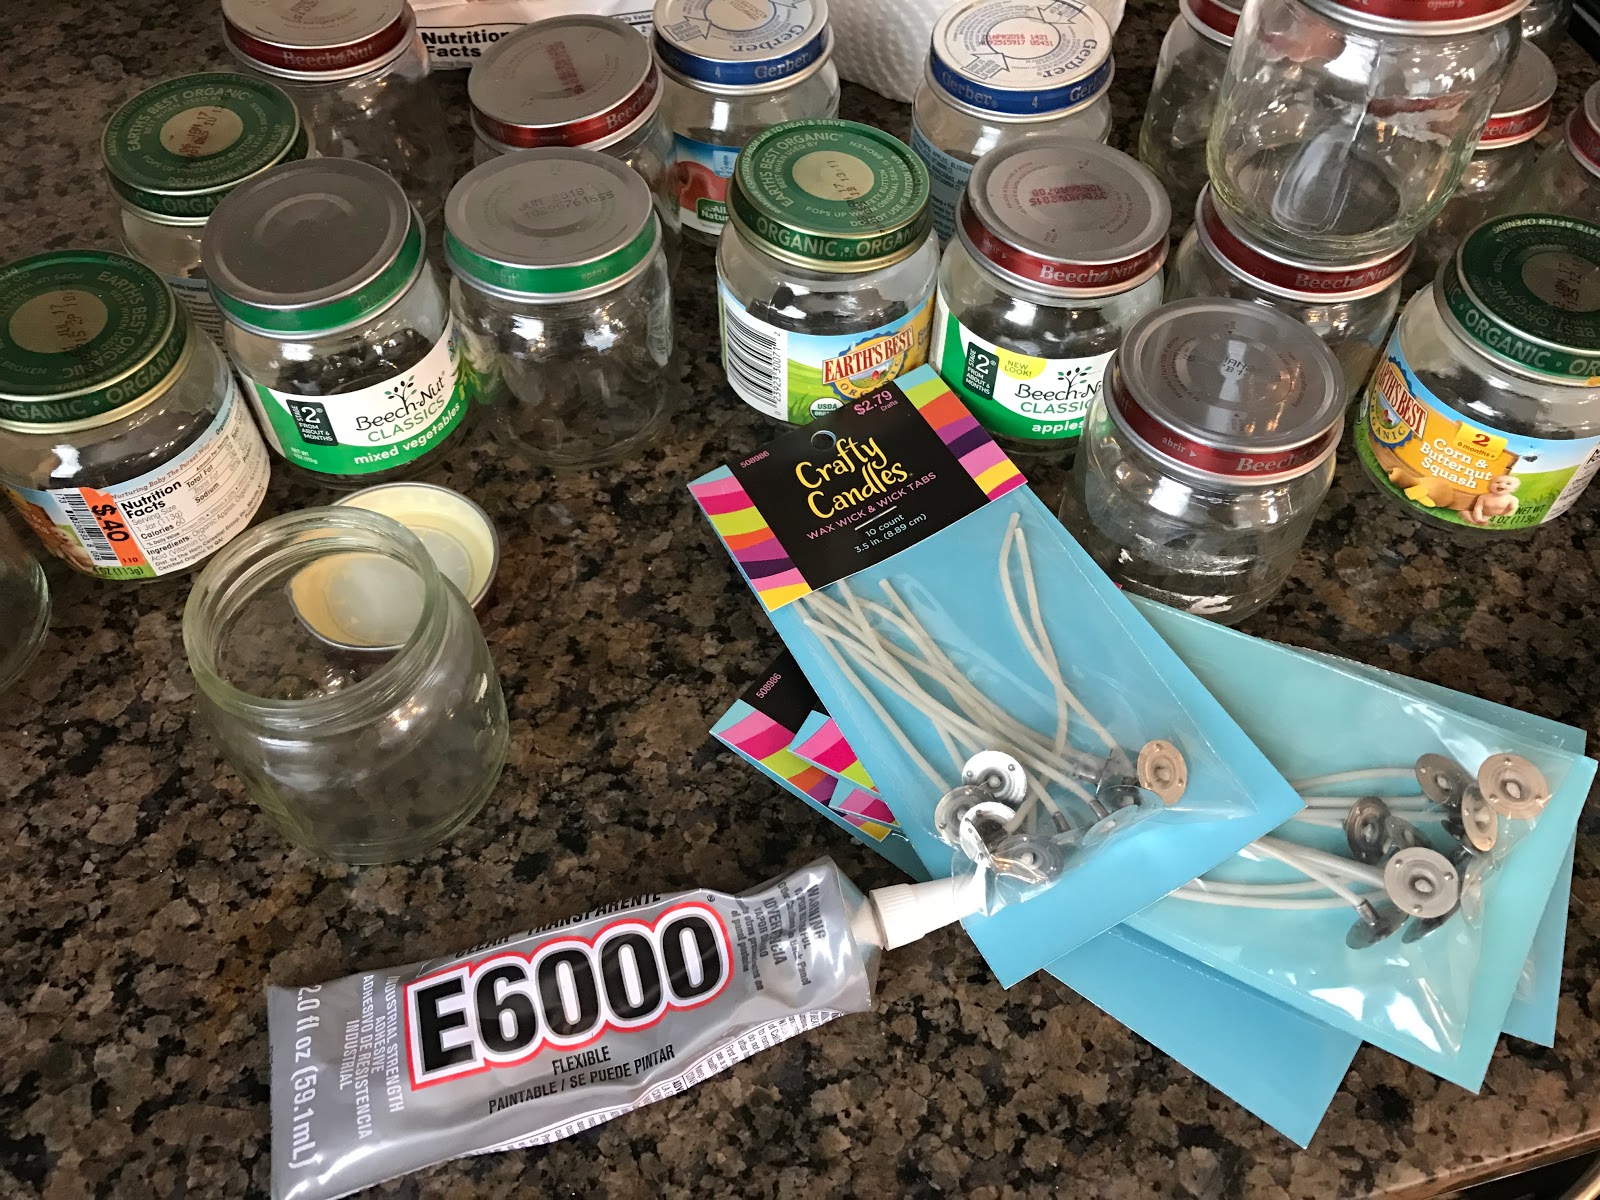
First I gathered my supplies.
I peeled the labels off of the jars, it didn't matter if there was some residue from the label because I was going to be covering the outside anyways.
I got the wicks from Hobby Lobby, there were 10 in each pack.
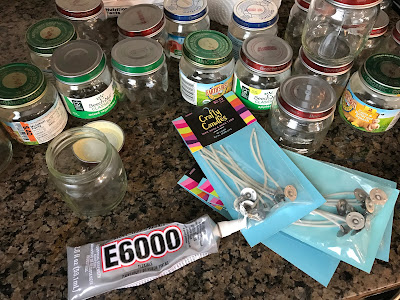 I put a dab of the E6000 glue on the bottom part of the metal,

 and then stuck them to the bottom of the inside of the jars.
I let them sit and dry for a while and got some other things done.
 This bag of wax is from Hobby Lobby as well (using a 40% off coupon of course!)
One bag ended up filling up 10 baby food jars.
 I poured the wax shavings into a microwave safe bowl, and microwaved it for 3 minutes.
 It was starting to melt so I did 2 more minutes.
I was doing short increments because I didn't want it to, I don't know, explode or something all over the microwave.
 Almost there...
I used a tongue depresser to mix up the wax so I didn't have to make more of my stuff dirty.
 Perfect!
 I then separated the wax into two bowls and added some essential oils.
I recommend placing some news paper or something down just to make the clean up easier.
In one bowl I did peppermint and the other I did lemon.
I had to add a lot more drops than I would have anticipated, I think it was like 15-20 drops.
 I then started filling the jars.
 They actually cooled and hardened pretty quickly, I think it was less than an hour, but I ended up coming back to them the next day because I had other things going on.

 Next was the decorating!
Mod Podge, glue gun, ribbon (it was 5/8" wide), and burlap. I got that roll of burlap last year from burlap.com when I did a blog review for some of their products, and I was excited to finally put it to use!
 Using a foam paint brush I spread some Mod Podge around the outside middle part of the jar.
 I then wrapped the burlap around the jar.
The best way to get the burlap to stay while the Mod Podge was drying was to put a small of glue from the glue gun on the ends of the burlap and then it held together beautifully.
 I then wrapped the ribbon around the middle of the burlap (gluing the ends down)

 I then made little bows,
 and glued them on right over where the ends of the ribbon meet.

 I ran out of ribbon pretty quickly, so I had to run to Hobby Lobby and grab some more.
Good thing their Christmas craft supplies were 50% off!
 I even got some gold :)
 All the candles almost ready to go!
I was going to incorporate the lids, but by the time I had gotten to this point I was running out of time.

 I might have to start hoarding more baby food jars ;)

About a 2 weeks before our Christmas party the church we belong to came out with their #LightTheWorld campaign (It's 25 ways in 25 days to serve others and bring Christ to our minds this Christmas season. To learn more about the full campaign click here).
The Christmas party was a success and at the end of the night I took a few minutes to talk about the candles.
I told the quote from Harry Potter where Dumbledore says "Happiness can be found even in the darkest of times, if one only remembers to turn on the light."
The candle is all ready to go, but it can't light itself.
We need to take action, we need to actually light it for it to bring us light.
The same goes for the Christmas season.
We need to include Christ in our celebration and bring the light into our lives.
I hope it made sense when I was talking, ha ha sometimes my words come to me better AFTER I'm done talking.
Anyways, I've included a full tutorial for you so you can see how these candles came together.
First I gathered my supplies.
I peeled the labels off of the jars, it didn't matter if there was some residue from the label because I was going to be covering the outside anyways.
I got the wicks from Hobby Lobby, there were 10 in each pack.


I let them sit and dry for a while and got some other things done.

One bag ended up filling up 10 baby food jars.


I was doing short increments because I didn't want it to, I don't know, explode or something all over the microwave.

I used a tongue depresser to mix up the wax so I didn't have to make more of my stuff dirty.


I recommend placing some news paper or something down just to make the clean up easier.
In one bowl I did peppermint and the other I did lemon.
I had to add a lot more drops than I would have anticipated, I think it was like 15-20 drops.


Once the wax had hardened I then cut the wicks.

Mod Podge, glue gun, ribbon (it was 5/8" wide), and burlap. I got that roll of burlap last year from burlap.com when I did a blog review for some of their products, and I was excited to finally put it to use!


The best way to get the burlap to stay while the Mod Podge was drying was to put a small of glue from the glue gun on the ends of the burlap and then it held together beautifully.


Progress!

Good thing their Christmas craft supplies were 50% off!


I was going to incorporate the lids, but by the time I had gotten to this point I was running out of time.

These made my house smell amazing :)

OMG! Sooo cute & fun! :) Thanks for sharing.
ReplyDelete#TrafficJamWeekend
http://coffeemoundslipstickclouds.blogspot.com
Thanks for stopping by!
DeleteIt takes nothing but a little effort to look around and find a new idea to turn any scrap into something useful. We usually throw away these jars but now on I will keep jars and bottles safe to make these cute candles.
ReplyDelete